Pulsar Xlite V2 Review | Xlite V2 vs Xlite V2 Mini
My Review of the Pulsar Xlite V2 and V2 Mini
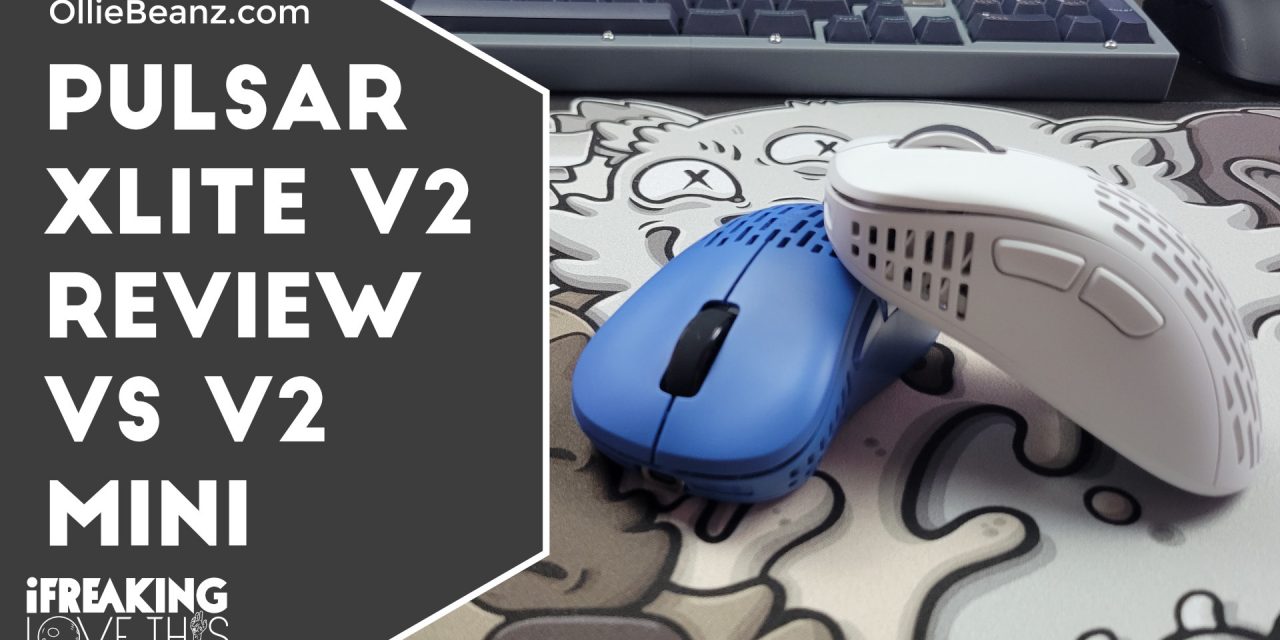
Hey folks, Ollie here and today we’re going to be doing a Pulsar Xlite V2 review. We’re also going to be comparing it to the Pulsar Xlite V2 Mini. Now the Pulsar Xlite V2 as well as the Xlite V2 Mini are wireless ergonomic gaming mice. I’ve been using both of these for a while now and I do love them both. So let’s get right into the Pulsar Xlite V2 review and comparison
What Makes The Pulsar Xlite V2 Ergonomic?
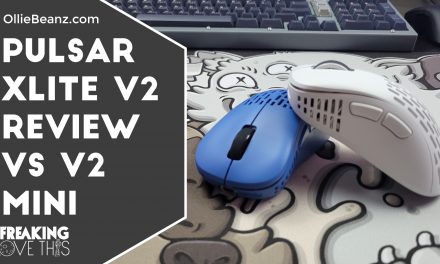
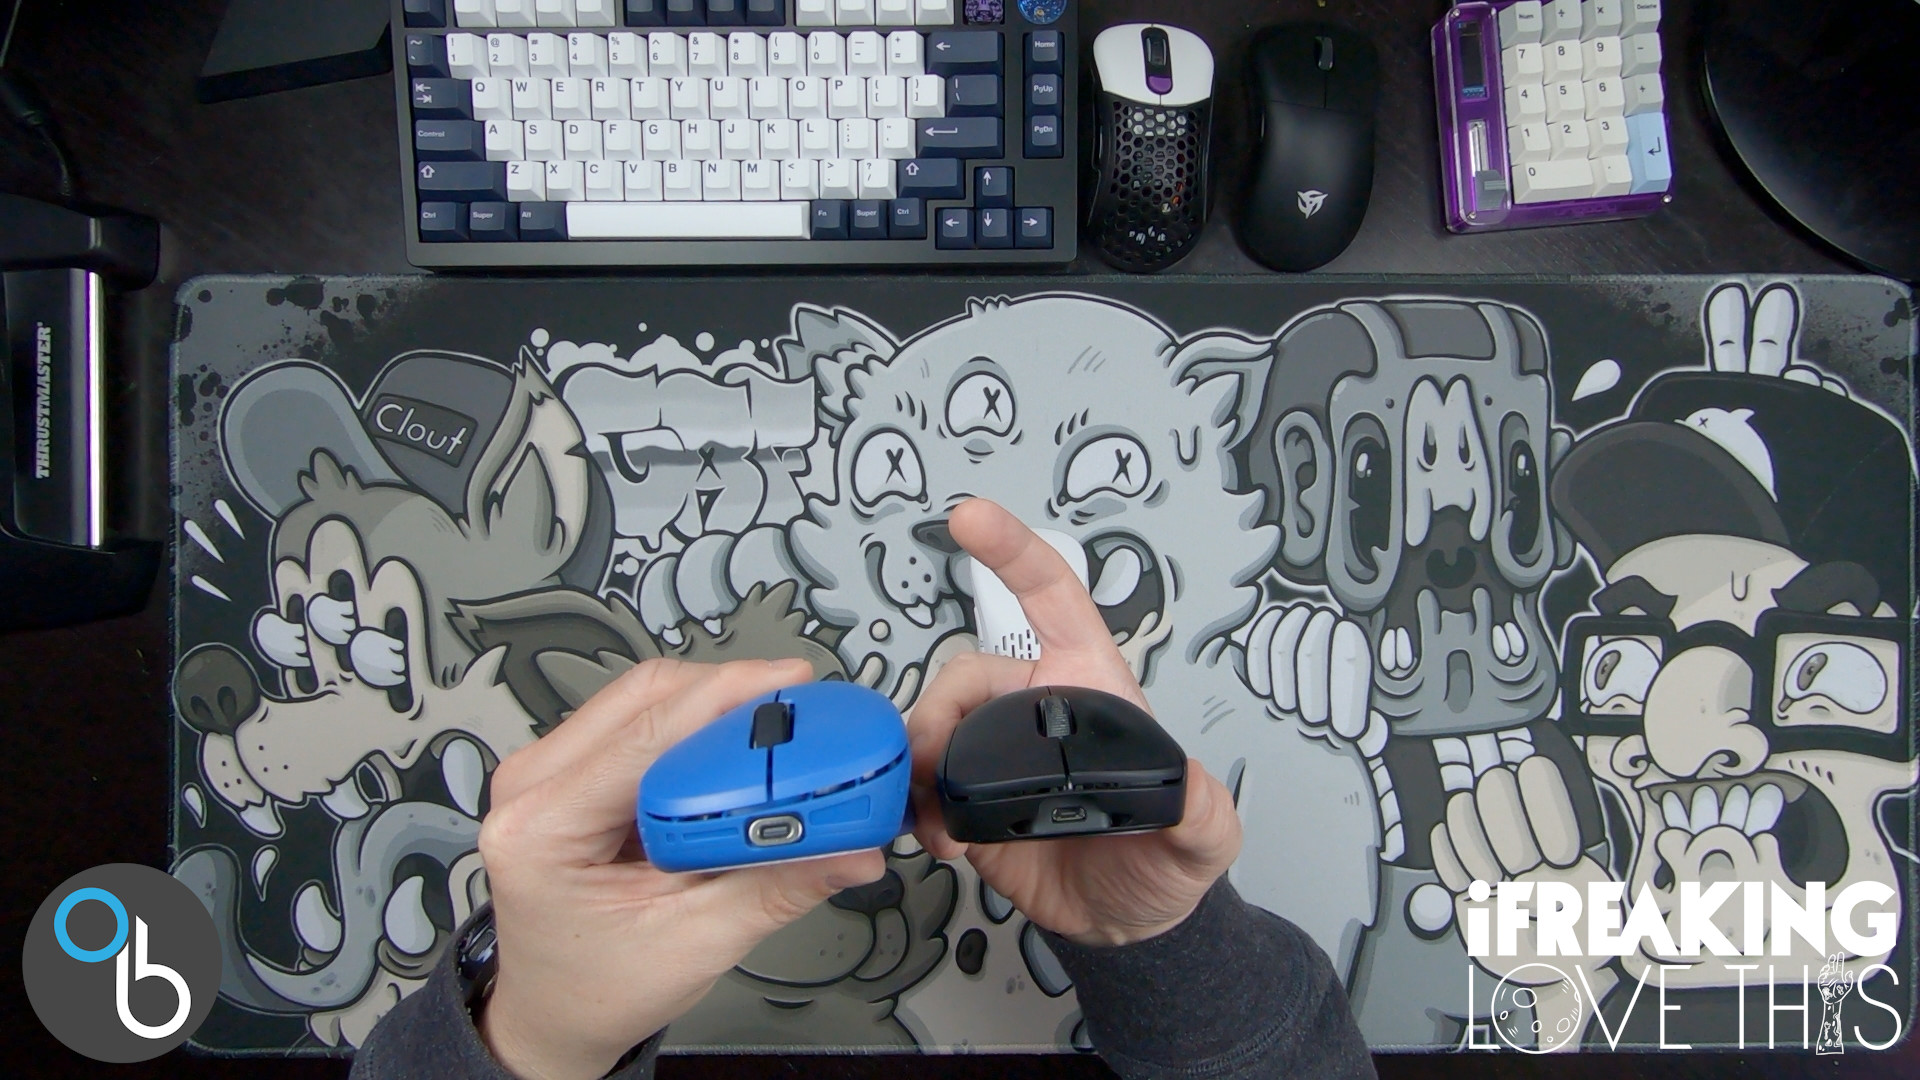
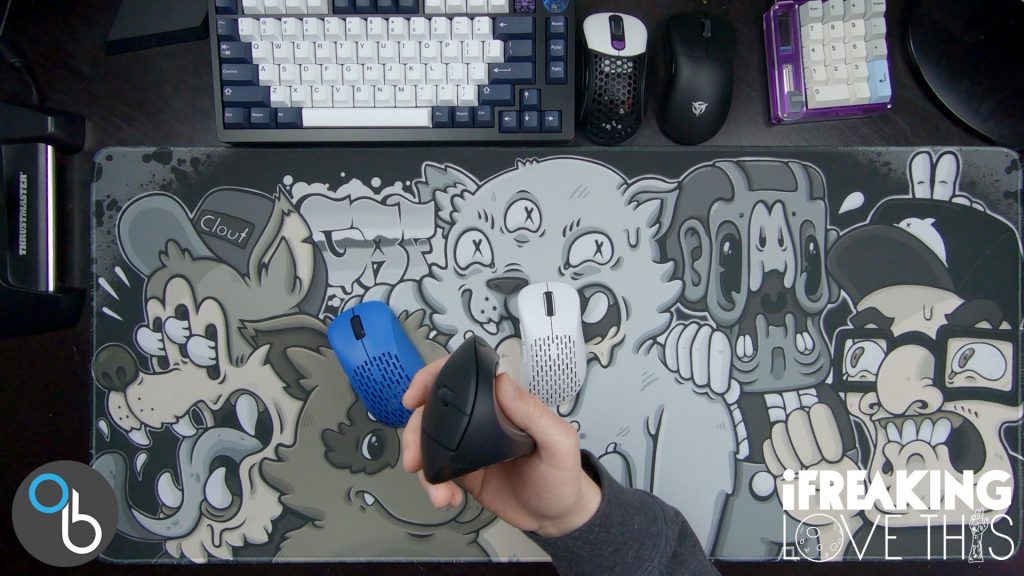
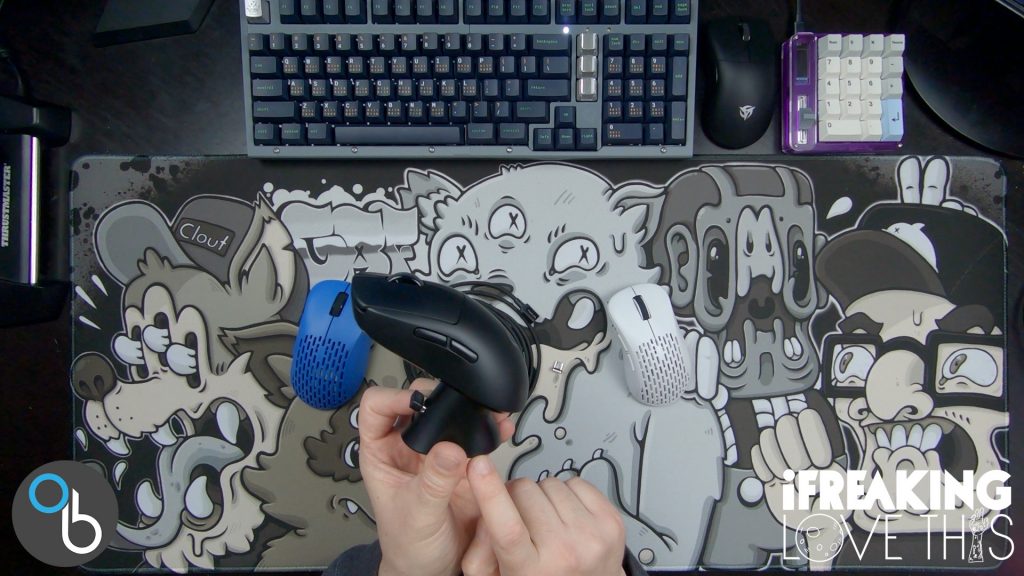
For this article the Xlite V2 is in blue and the Xlite V2 Mini is in white. The Xlite V2 series is an ergonomic gaming mouse.
This little angle on the Xlite V2 not being flat, like on a G Pro wireless that’s just straight across. That’s what makes the Xlite V2 an ergonomic gaming mouse. Now it’s not quite as ergonomic as say this anchor vertical mouse.
The Anker vertical mouse has an angle of about 45 degrees. The angle on the Xlite V2 is about 25 degrees so it’s much more gradual of an angle, but it is enough that your hand is not lying flat like it would be on the G Pro.
It actually helped with my wrist pain, I no longer have to wear a wrist wrest and it’s because of ergonomic mice like this. The Pwnage Ultra Custom Ergo mouse also has that gradual 25 degree angle.
Pulsar Xlite V2 Dimensions and Weight | Xlite V2 vs Xlite V2 Mini
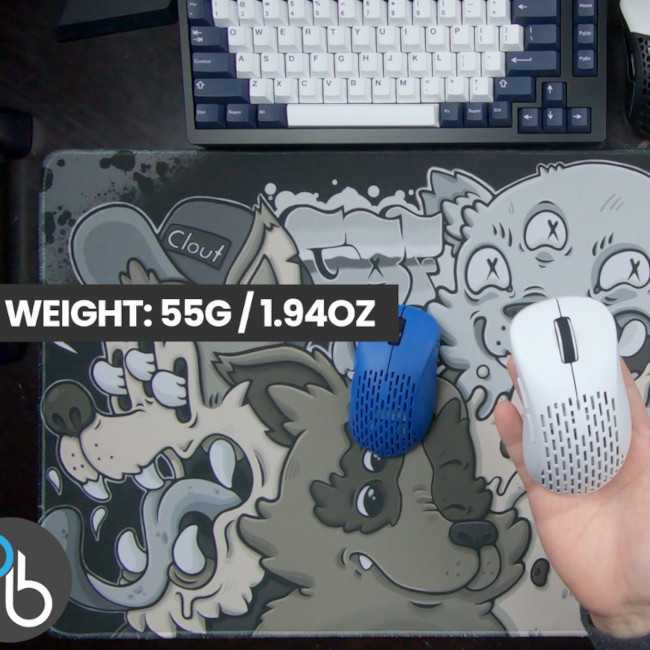
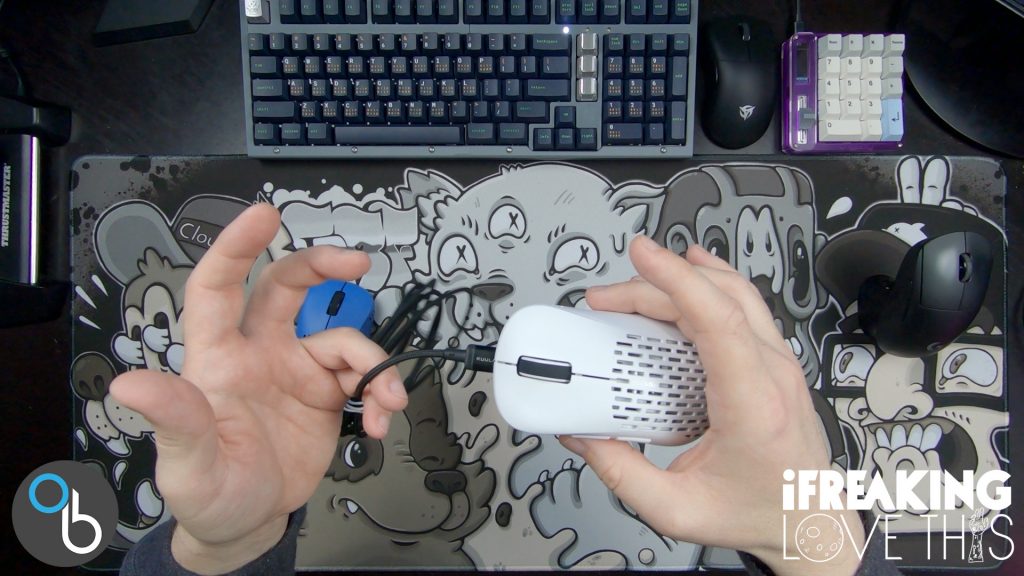
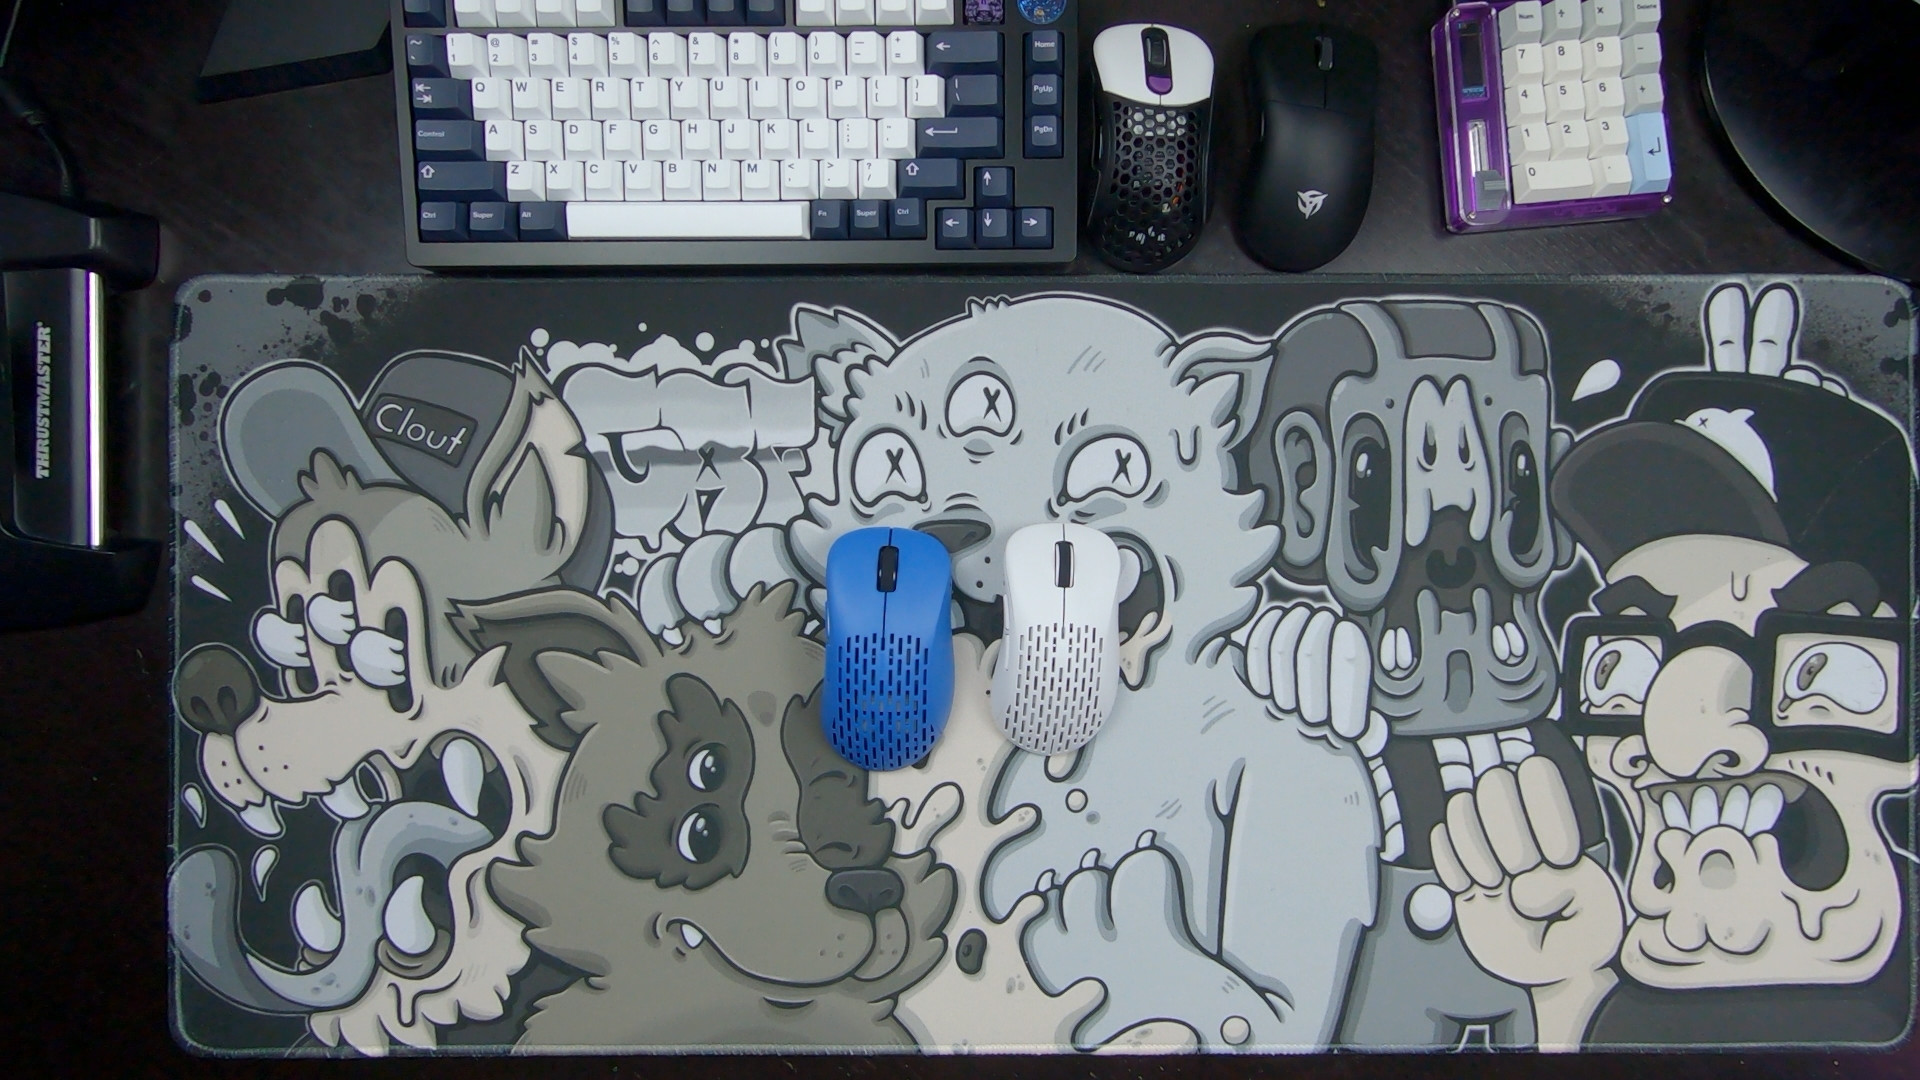
Again we have the Xlite V2 in blue and the Xlite V2 Mini in white. The only difference between the Xlite V2 and the Xlite V2 Mini is the size and weight. They share the same internals and specifications.
Xlite V2 Dimensions
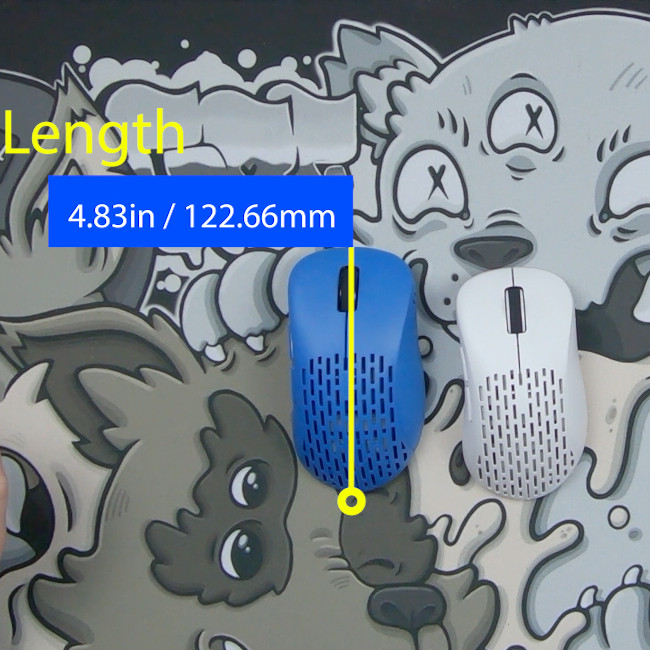
Length
4.83in / 122.66mm
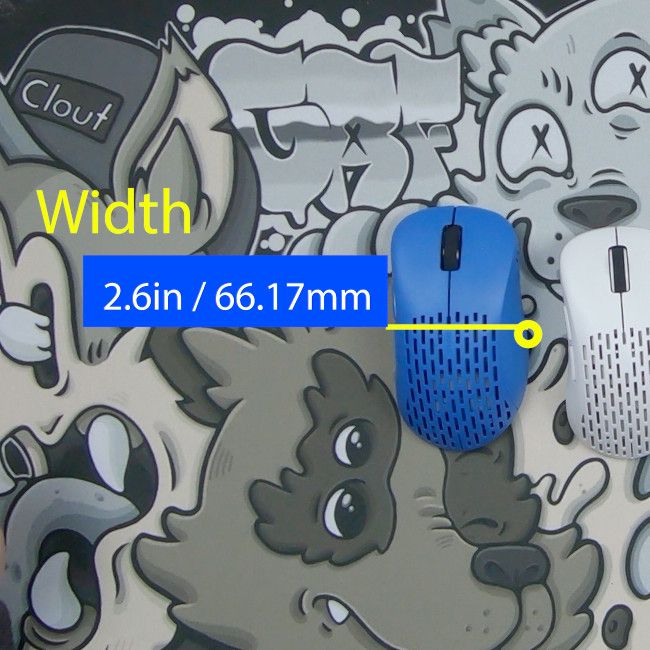
Width
2.6in / 66.17mm
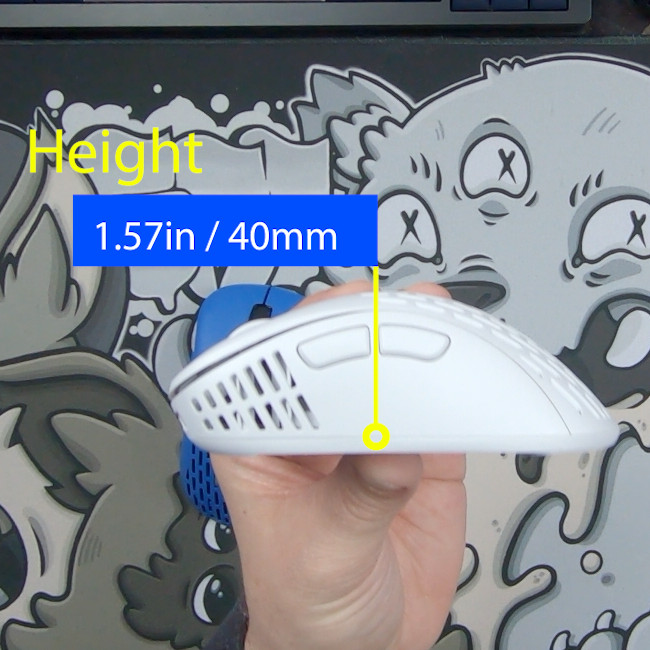
Height
1.57in / 40mm
Weight
55g / 1.94oz
Xlite V2 Mini Dimensions
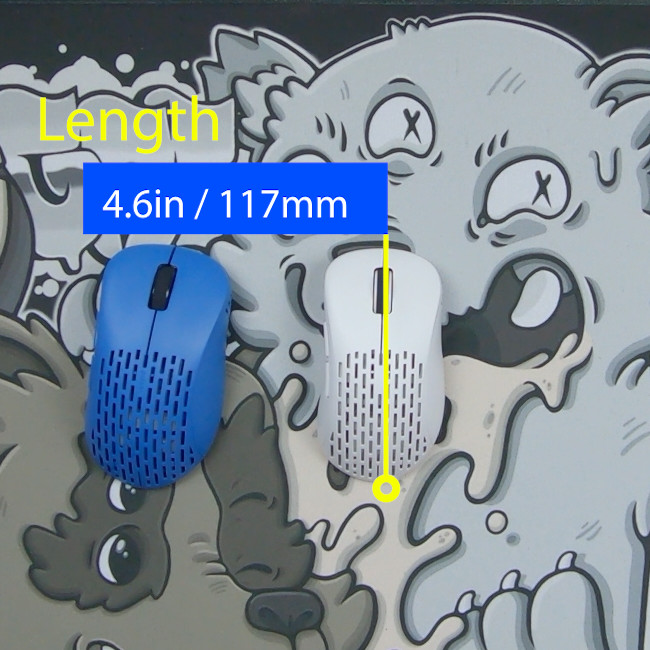
Length
4.6in / 117mm
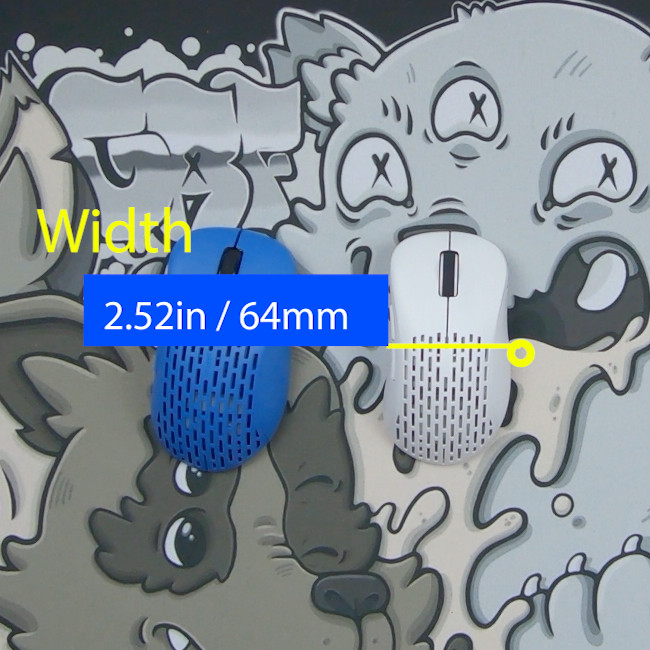
Width
2.52in / 64mm
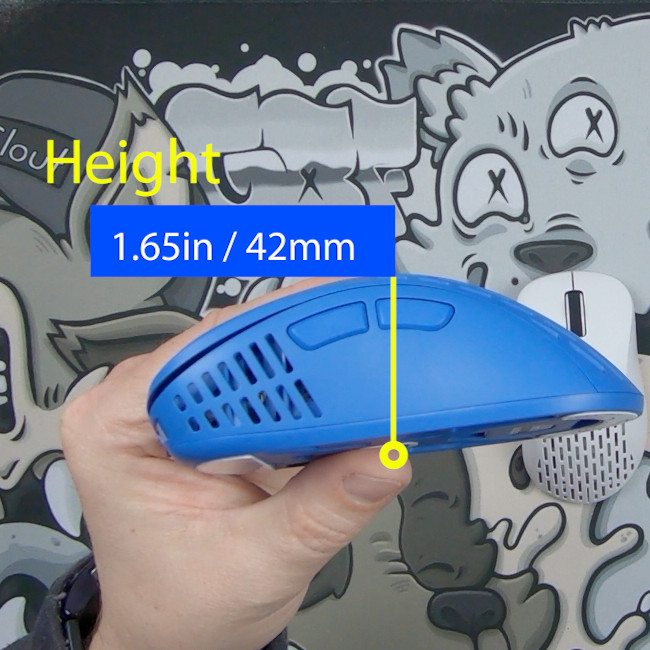
Height
1.65in / 42mm
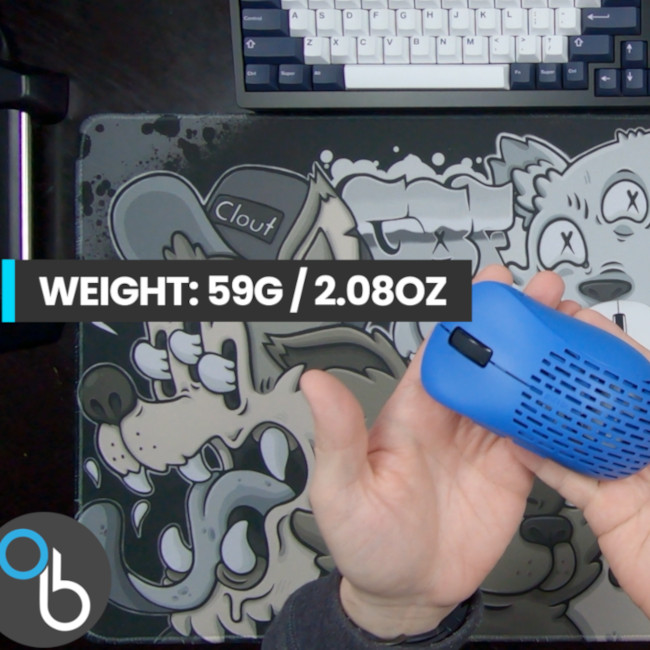
Weight
59g / 2.08oz
Differences in Size
The only difference between the Pulsar Xlite V2 and Pulsar Xlite V2 Mini is that the mini version is smaller and lighter.
Length Difference
5.66mm
Width Differnce
2.17mm
Height Difference
2mm
Weight
4g
These small differences in size and weight do make a difference. I prefer the mini version for gaming and the regular Xlite V2 for day to day work, but I’ll I’ll switch it up to match what my keyboard of course. Let’s move right into the specs.
Pulsar Xlite V2 Specifications
All the specifications listed below come directly from https://www.pulsar.gg/products/xlite-v2-wireless-gaming-mouse
PAW3370 Sensor
It uses a PAW 3370 sensor. It’s a great sensor. It’s really fast and really efficient, which is great for performance as well as battery life since the Xlite V2 is a wireless mouse. You can check out how the 3370 stacks up against other sensors on https://sensor.fyi/sensors/.
50-20,000 DPI
The 50 to 20,000 DPI is pretty standard. Most people don’t use over two to 3000 DPI anyway. For reference DPI is dots per inch. It represents how many dots or pixels your mouse moves on the screen for every one inch of physical movement.
400 IPS
Now IPS is inches per second inch. So 400 IPS here means you can move the mouse mouse up to 400 inches a second and it will keep up and not lose tracking. So it’s a measurement of speed capability of the Xlite V2.
For example my big deskmat here is only about 35 inches across.

Pulsar Xlite V2 vs Xlite V2 Mini
Even factoring lots of quick micro movements. You’re not going to outpace this mouse.
50g Acceleration
Acceleration is when the mouse will move further on your screen if you move it faster physically. This should really say max acceleration though because this is technically the limit on how fast you can accelerate the mouse and still have it track it accurately for that acceleration not to kick in.
1000Hz
Then of course the 1000Hz or one millisecond polling rate means that the mouse sends feedback on its updated position to the computer 1,000 times a second. That’s plenty fast. Gone are those days where you’re like oh no, I need a wired mouse to be competitive. Plenty people are out there winning championships with wireless mice and the Xlite V2 can keep up with them.
32bit ARM Processor
Having a 32 bit ARM processor means that the mouse can handle its own calculations and processes. This is what allows most of the extra features and adjustments you can make on the mouse. Especially in the software. So let’s check to jump right into the software.
Pulsar Mouse Software
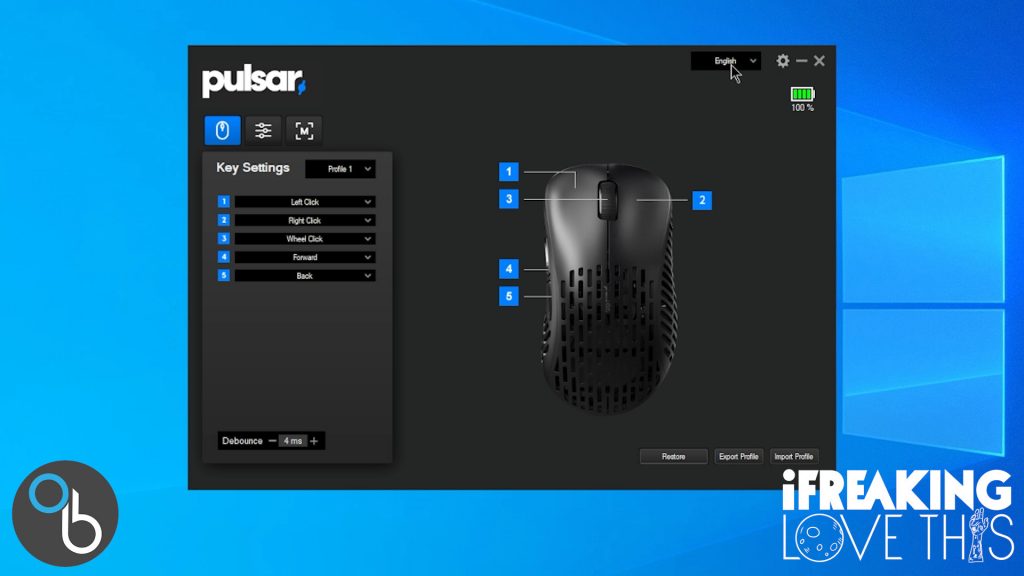
Now. Alright, so here we have the software for the Pulsar Xlite V2 and the same software works for the Xlite V2 Mini. It can detect multiple Pulsar mice and will edit the one you currently have active.
Key Settings
At the top right is your language and the settings cog wheel is really only for your firmware update. There are 3 main sections. We’re gonna be looking over the “Key Settings” section first, which is where you are binding all your buttons.
By default one is left click, two is right click three is wheel click, four is forward, and five is back. Notice there is no DPI button. The DPI is set by holding one, three and four down for three seconds and that’ll change the light associated with that DPI setting as well.
The DPI is set by holding one, three and four down for three seconds and that’ll change the light associated with that DPI setting as well.
Then on the bottom right you can import or export your profiles and everything is saved on the mouse itself. It use an .jma file extension which is an old Nintendo file extension, which I found pretty funny.
On the bottom left you have debounce. Debounce is a span of time after a click when new click signals will not register. Mine is set to 4ms. So if I click and if I click again, within three milliseconds, it’s not going to register and that’s to avoid sometimes when a mouse bounces ever so slightly and it reads it as a another click.
DPI and Other Settings
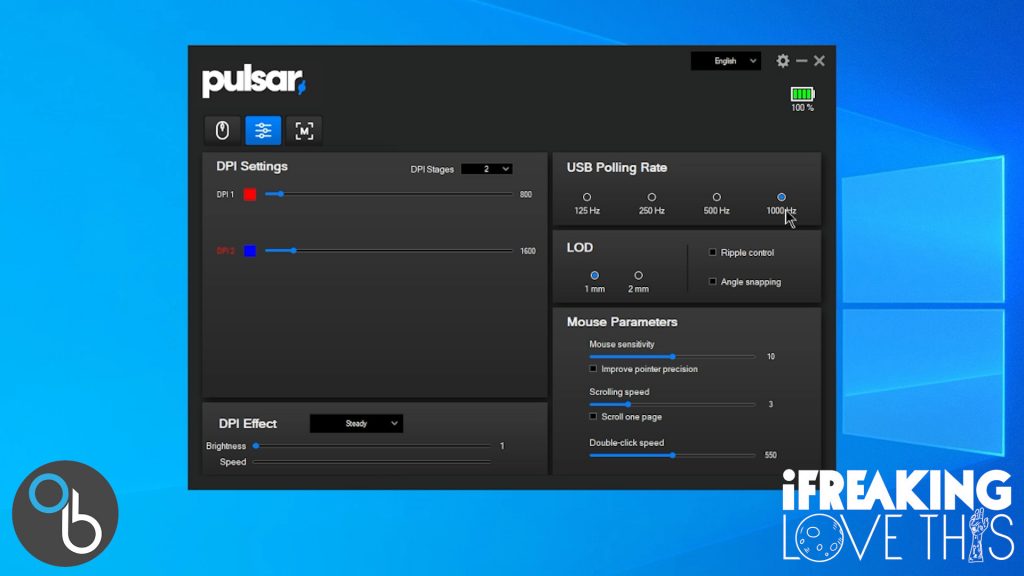
Then we have the DPI settings. Here you can have multiple settings. I do 800 and 1,600 personally and the color next to it is the color of the LED of the mouse when using that DPI setting. I use 800 for gaming and 1600 I use for work. You can have multiple extra stages as well.
Here is also where you control the polling rate we discussed earlier.
LOD stands for lift off distance. This refers to the height of when a mouse will stop sensing movement aka tracking when it is lifted off the mouse pad. Lower than three millimeters is usually optimal and here we have one and two, so definitely in good ranges there.
Ripple controlling and angle snapping. Those are both types of smoothing. So what that will do is say you’re using a really high DPI or you just have jittery mouse movements or anything of that nature. This can help to smooth those out and they do it in different ways.
Then we have your mouse sensitivity that’s pretty, pretty self explanatory.
Improved pointer precision. I don’t really know what that does to be honest with you.
Scrolling speed changes the scrolling wheel and how fast it will scroll up or down.
Scroll one page essentially turns each increment in the scroll wheel into Page Up and Page Down buttons. So it will scroll an entire page up or down for each increment scrolled.
Double click speed is in what timespan you have to click the mouse twice in order for to be registered as a double click and it is in milliseconds. I have mine set at 550 milliseconds. So that means if I double click within say in 500 milliseconds, it’ll count as a double click versus two single clicks. If I do it in 600 milliseconds or 551 milliseconds, they will count as separate clicks.
Macro Settings
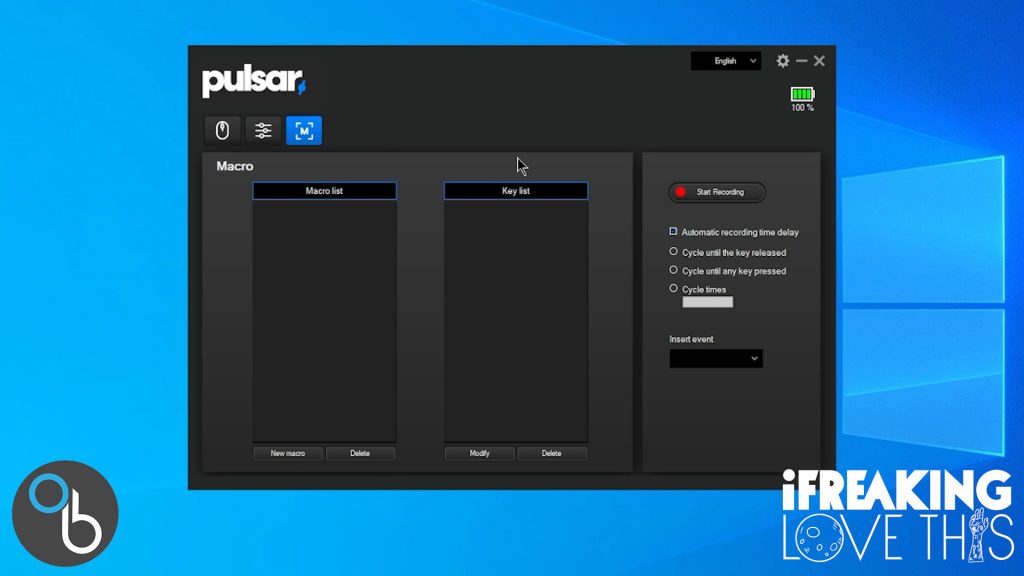
Then here we have macros. You essentially just start recording and then you can program your mouse to do other actions. I’m not going to get into the full system here because most macro systems are pretty self explanatory.
Software Thoughts
The software also doesn’t take up much space or many resources. Everything is saved on the mouse itself so you can just shut down the software and not have to have it running in the background even though it is really minimal.
Magnetic Charging Mod
So as you probably guessed by now, I really like the Pulsar Xlite V2, both the medium as well as the mini version, but since they use USB-C they weren’t as convenient for me as the G-Pro with my charging dock.
So the Logitech mouse charging dock picture above was a lot more convenient for me versus having to plug a USB-C cable, at least it’s USB-C instead of micro USB or something like that, but I still wanted something easier. You can check out my video on the logitech mouse charging dock here.
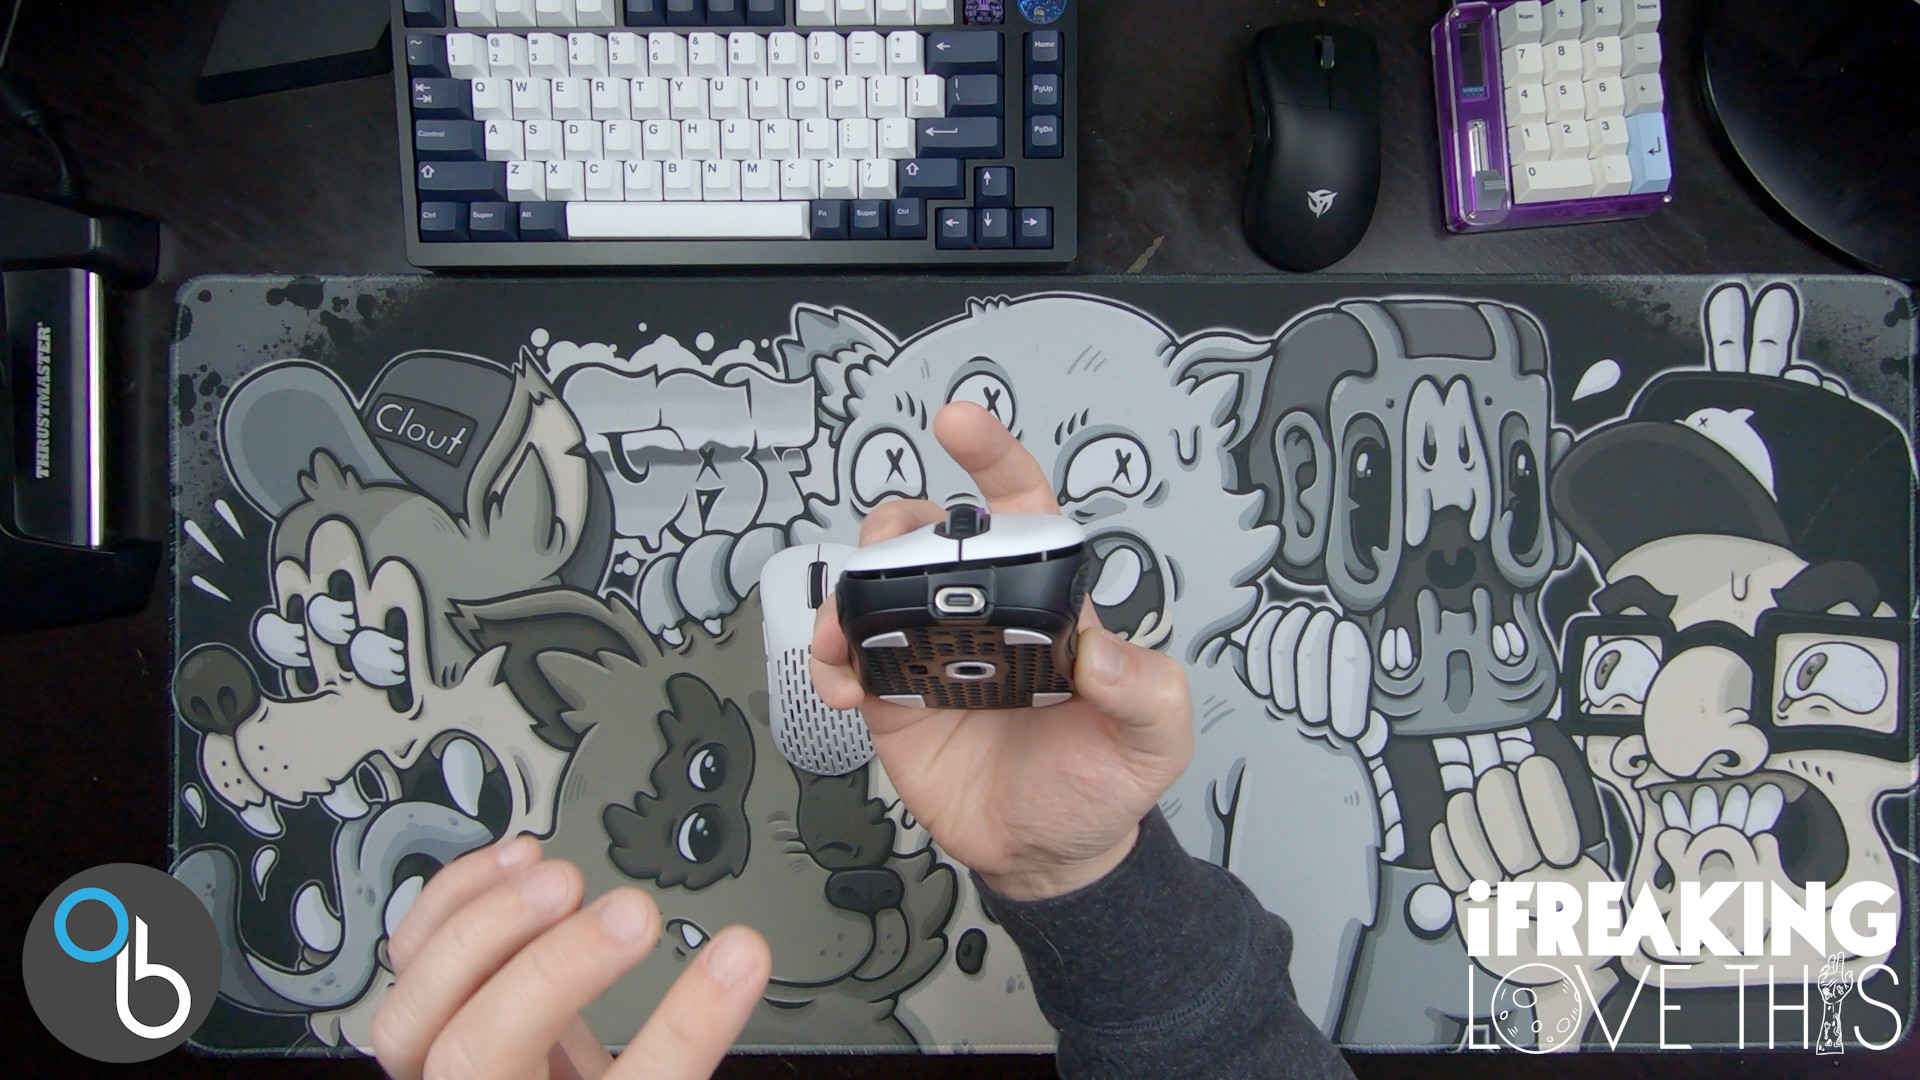
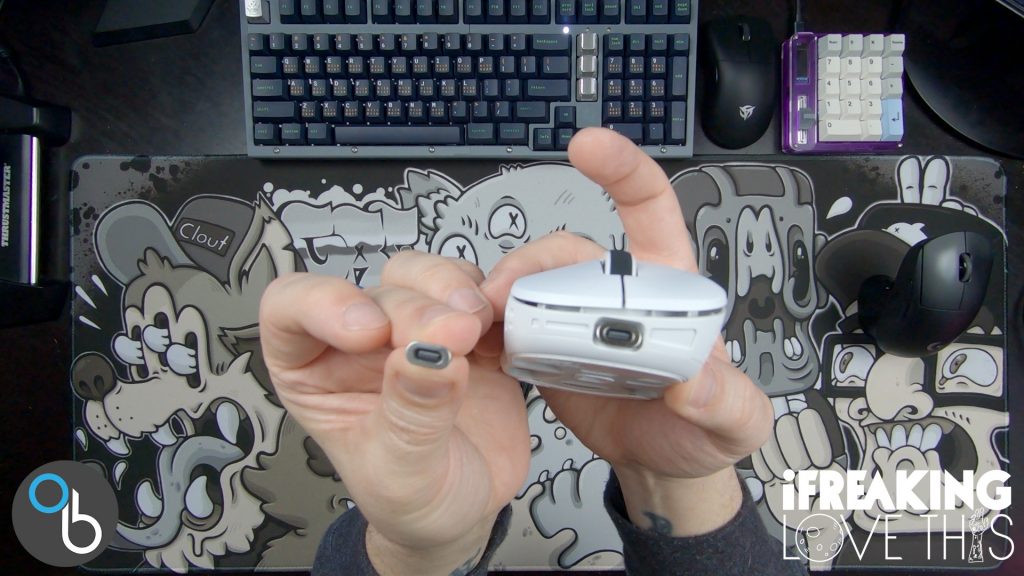
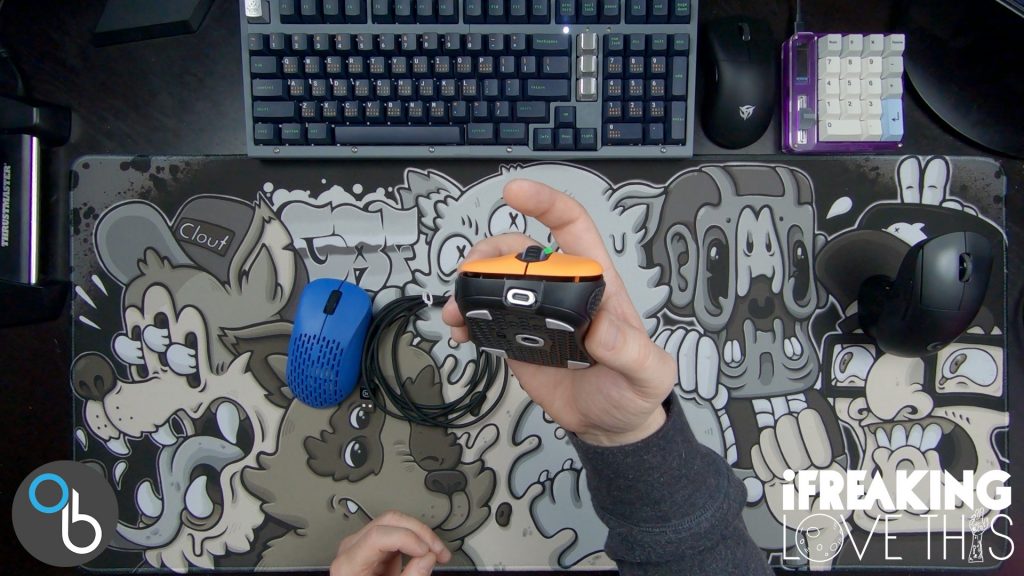
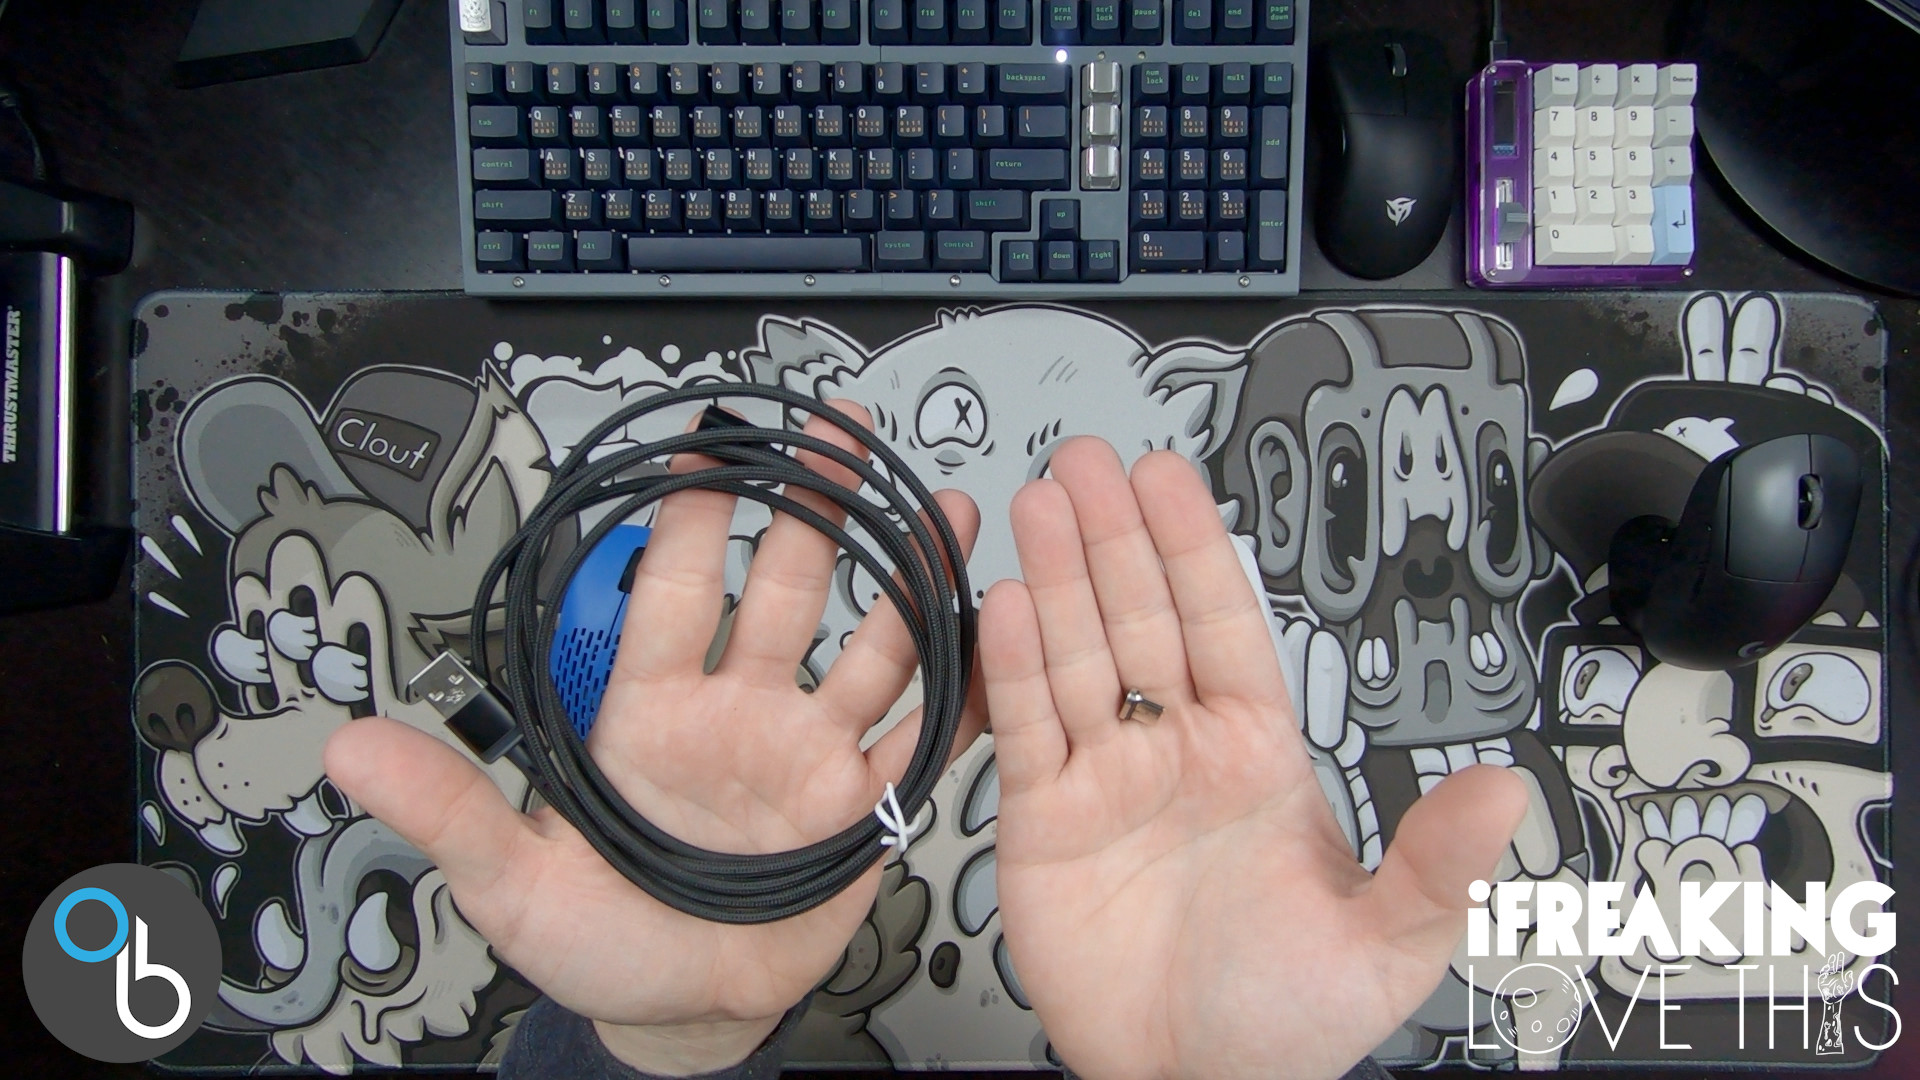
So I went I found this. This is a magnetic USB-C charging cable. It comes with two pieces, the cable itself and this little USB-C insert has a USB-C side and then a magnetic side and that’s what you’re seeing here.
So to charge my Xlite V2s I just have a little cable anchor so the cable stays in place and out of the way and then I just bring the cable and mouse together and they snap in place to charge. That’s it.
I did try some other magnetic cables and they all didn’t fit. You really need the oval ones but best bet is to use these ones and you’ll know it should work, well at least it worked on mine and it does work on my Pwnage Ultra Custom Ergo pictured below as well.
I’ve used these cables on a bunch of mice so far and they seem to fit all of them quite nicely. There you go. A nice mod to make this great Pulsar Xlite V2 even better by making charging easier.
I charge these probably once a week, but I do use you know a bunch of different mice throughout the week. I charge all my wireless mice when they get to around 70% since most wireless mice go from 50% to drained fairly quickly.
Conclusion
The Pulsar Xlite V2 and Xlite V2 Mini are great wireless ergo gaming mice, they would be absolutely perfect for me if they just had a DPI button, but even without a DPI button they both made it into my daily rotation. I’ve been preferring the mini for gaming and the regular for work whether it’s writing content or coding.
You can pick up a Pulsar Xlite V2 here and an Xlite V2 Mini here.

